When I restored my Lambretta Li 150, I fitted an aftermarket shiny bling chromed brake pedal from an e-Bay supplier. It fitted Ok but somehow as a result of things wearing in etc, it appears that the pedal is no longer coming to a stop against the frame strut as intended. This meant that the brake light switch was acting as a stop for the pedal. Obviously, this is not the intended purpose of the switch and it could not sustain the constant pressure on it from the brake pedal spring. This resulted in failure of the switch as the pedal pushed the pin in the switch straight through it’s plastic housing.
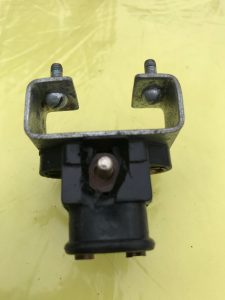
Lambretta rear brake light switch
The pedal has now been modified now to make sure it comes to a stop against the frame strut and the brake light switch replaced. The brake pedal will be changed at the next service on the scooter with a genuine Innocenti item. It’s not as shiny, but as the chrome is going rusty on the blingy item it will be a better option. Check your brake pedals under your Lambretta folks, make sure they’re hitting the stop on the frame!
Cheers, Geoff
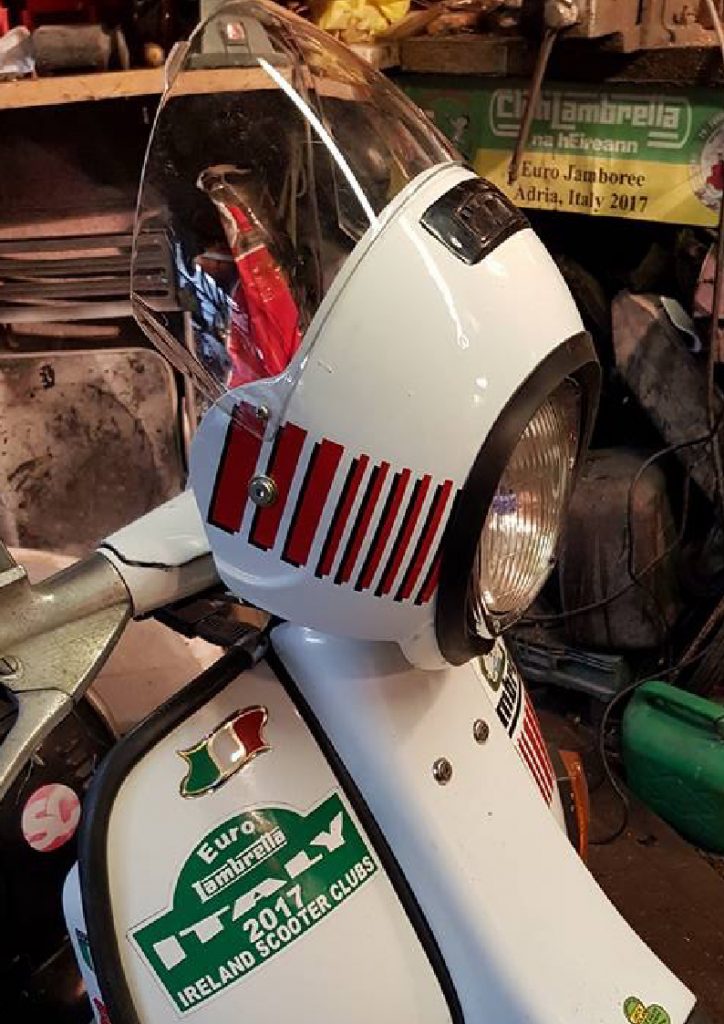
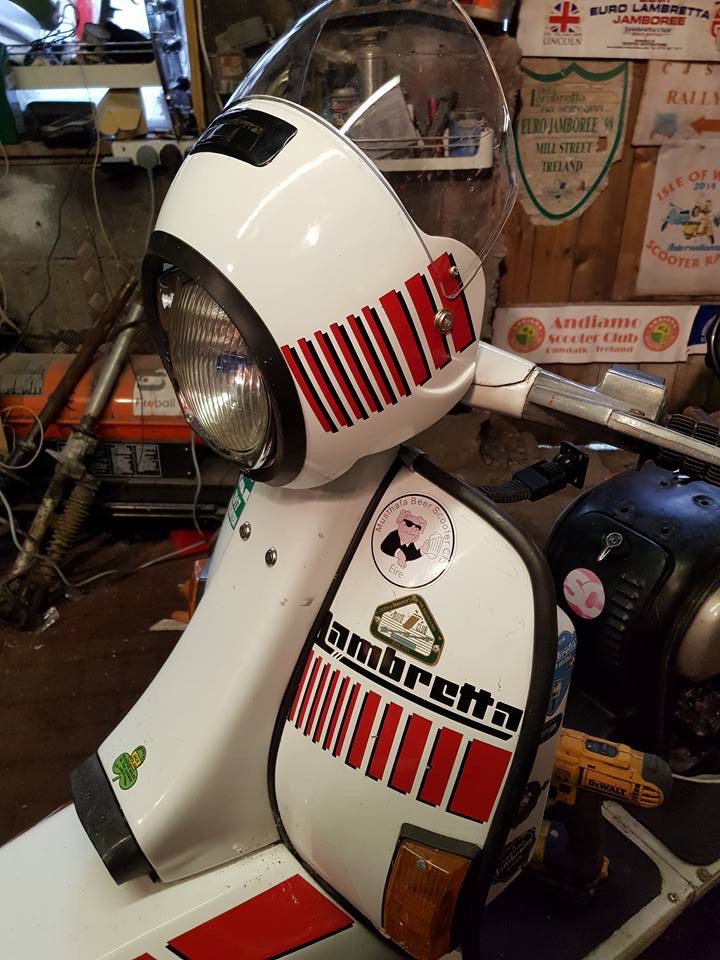
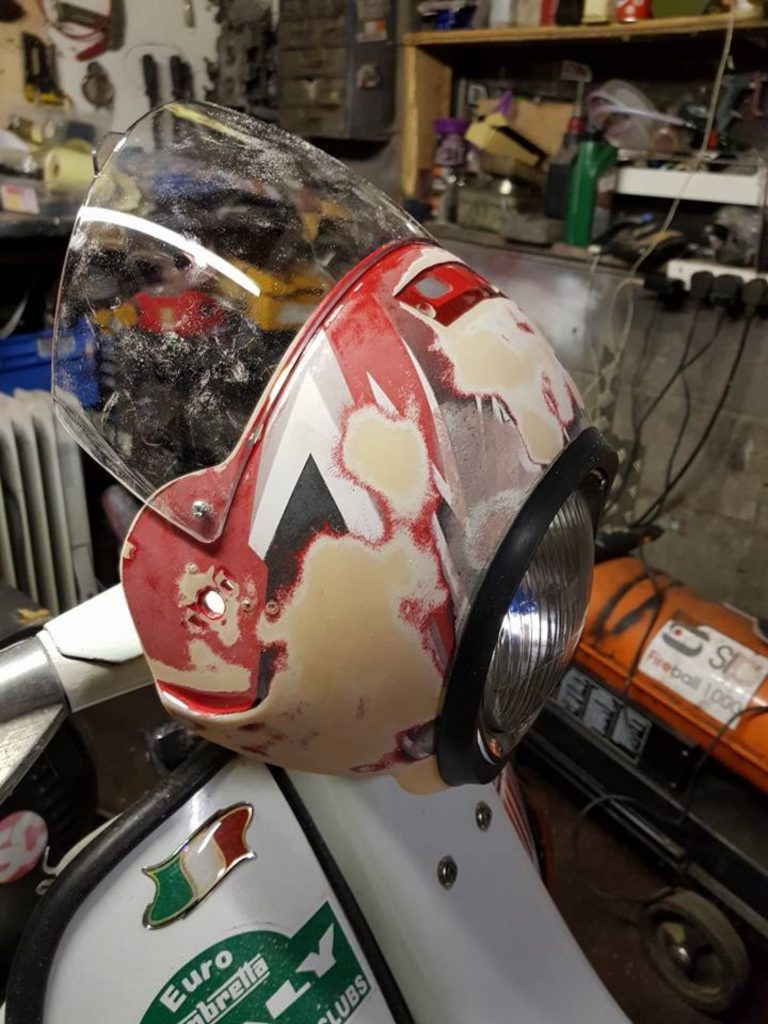
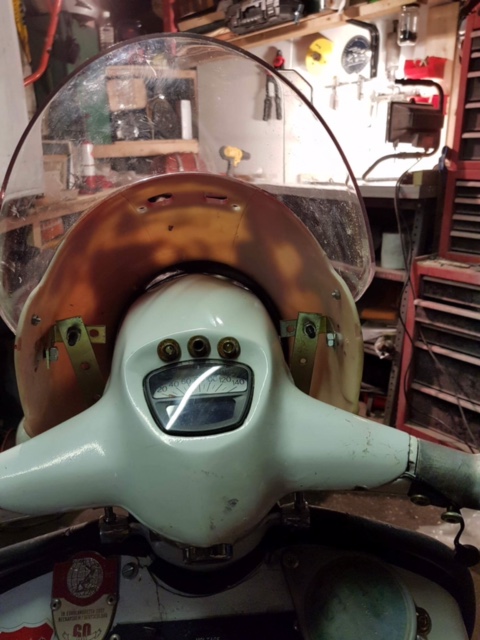
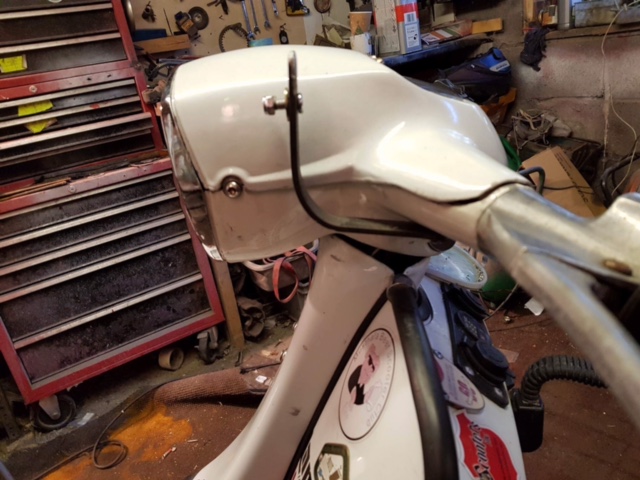
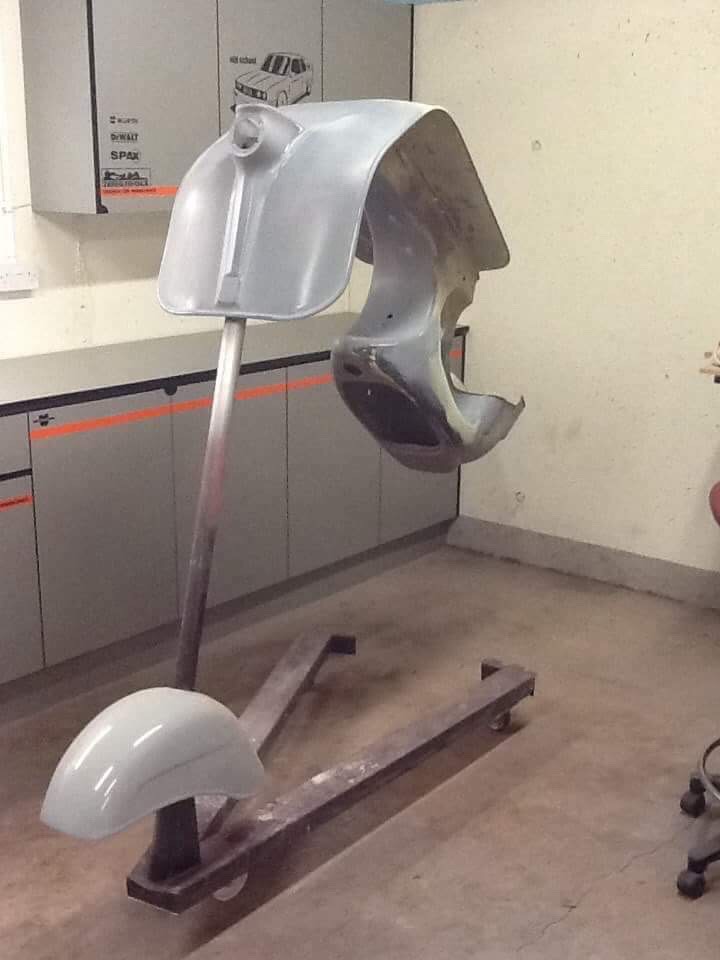
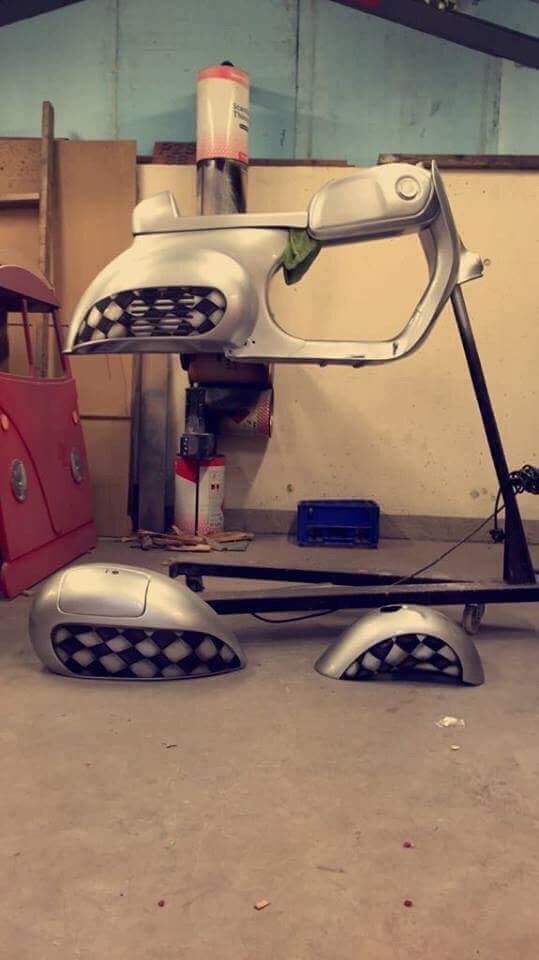
I fancied the idea making a retro look bullet fairing for my Lambretta after I saw Sean Creighton’s design for his Vespa.
The first thing that you’re going to need is a full face helmet (not the police split type) You will also need to source a 160mm hole saw for a Li/SX series 3 headset, This gives at least 5mm minimum all round to fit a rubber strip.
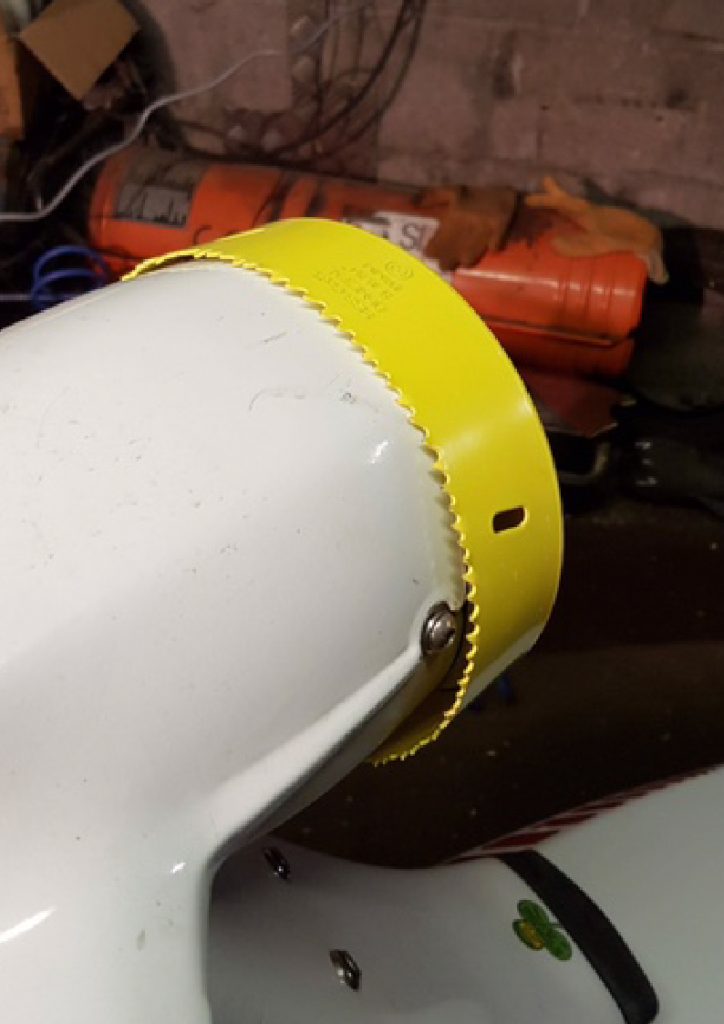

Apart from a lot of patience and a clear head the other equipment you’ll need – Masking tape, a Compass (as in the set you had In school) Vernier caliper and measuring tape.
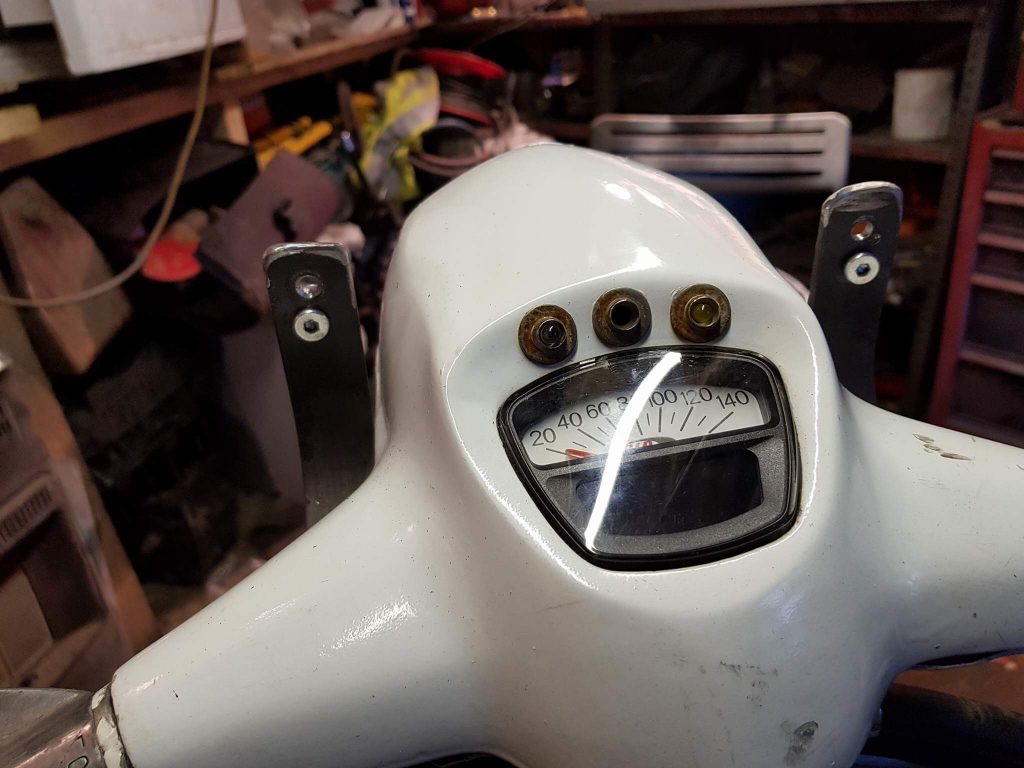
Remove everything from the lid,keep all the rubber bits/strips for later. Throw away the innards. Look inside the lid and you should see a small dimple from its manufacturing process, this is your Center Point to work from. Drill a small pilot hole and turn your lid back over. From now drilled centre point, mask up a 170mm square bigger. Use your compass to scribe a circle 160mm diameter around the centre point.
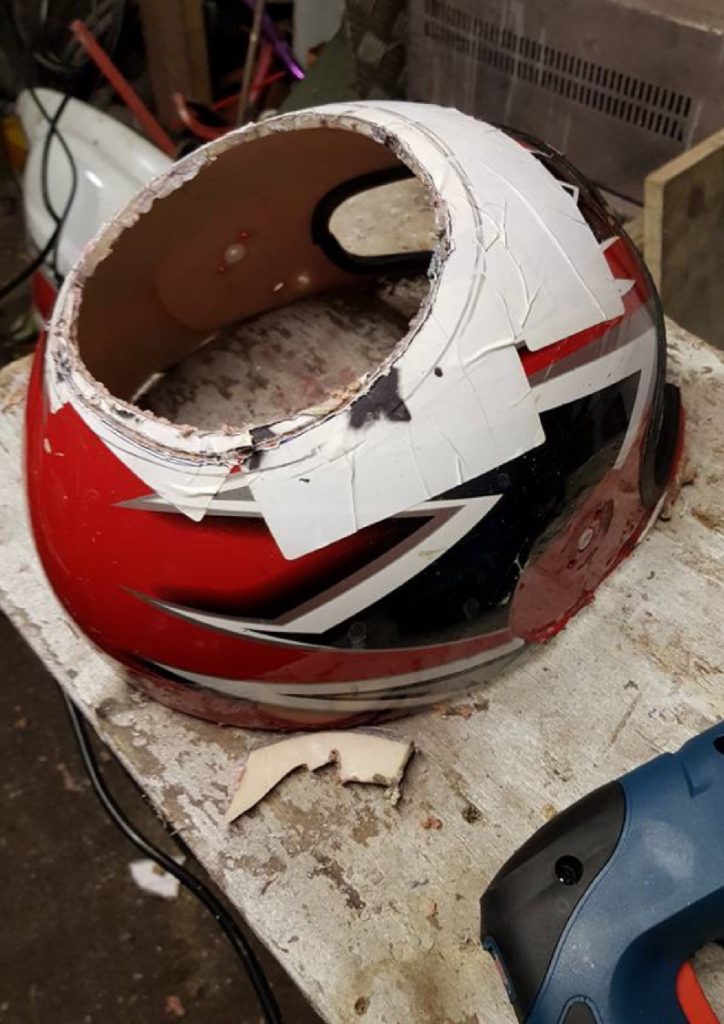
Slowly drill out the 160mm circle using the scribed circle as a guide, it’s only a few millimeters thick so take it easy so you get a clean cut. When that’s done, mask off the bottom neck end of the lid. Measure up 15mm from the bottom. To get a good line I marked dots every 20mm then joined the dots, then cut along the line. Cut out the chin piece about 50mm out so you can work away at it to get the shape and look you want.
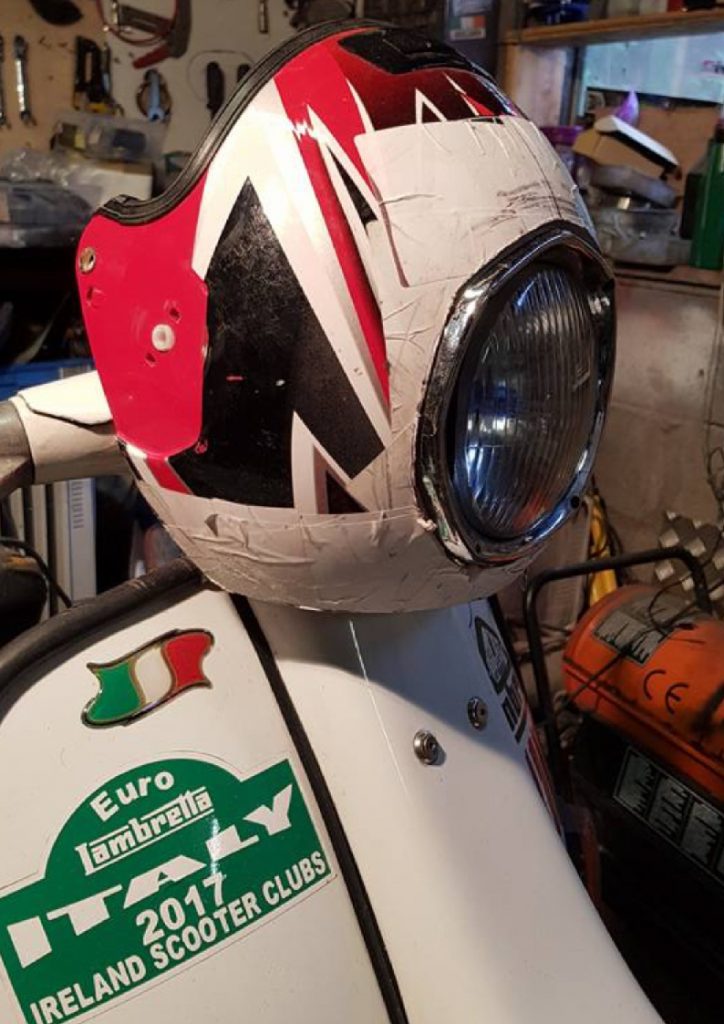
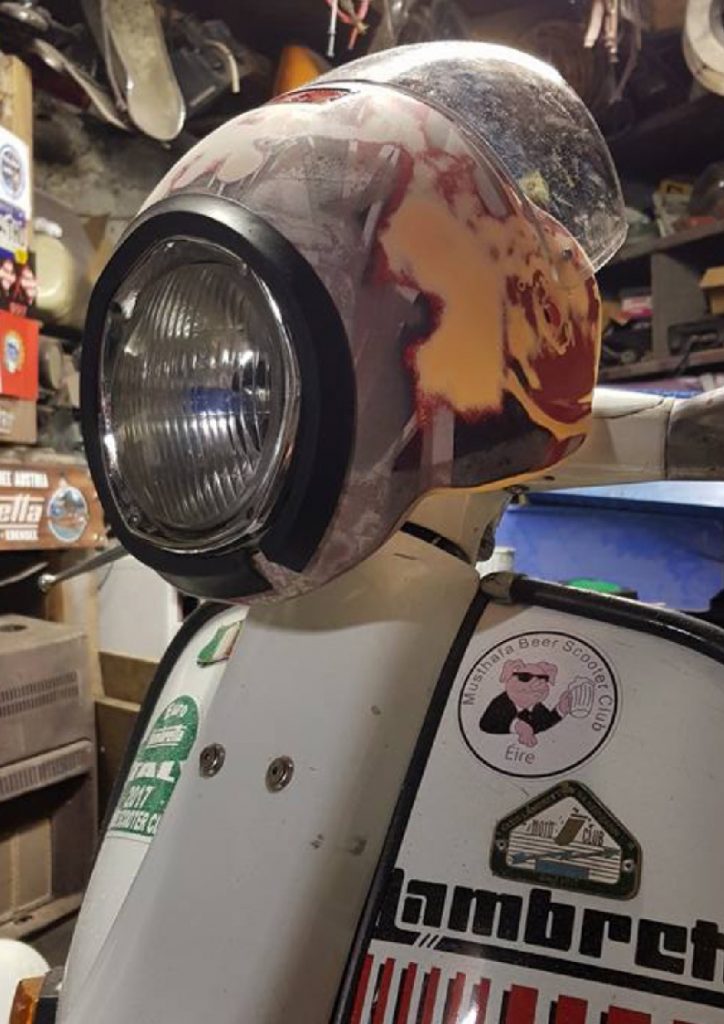
I used 25mm x 5mm flat bar as the mounts not to heavy but rigid solid enough not to crack. Two holes drilled about 25mm from headset bolts underside, this is so I can remove the headset top and leave the brackets in place. I drilled two sets of holes, the bottom ones to mount the fairing with the top one to add a bracket for my phone or Sat-Nav mount. I’ll have the brackets powder coated eventually.
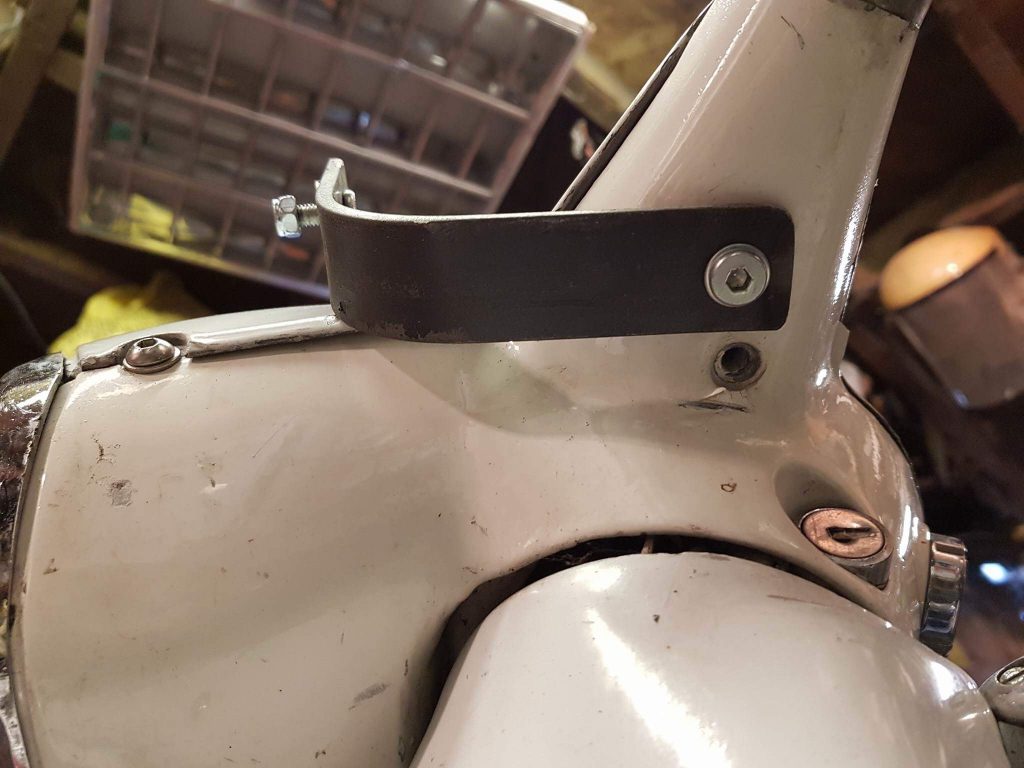
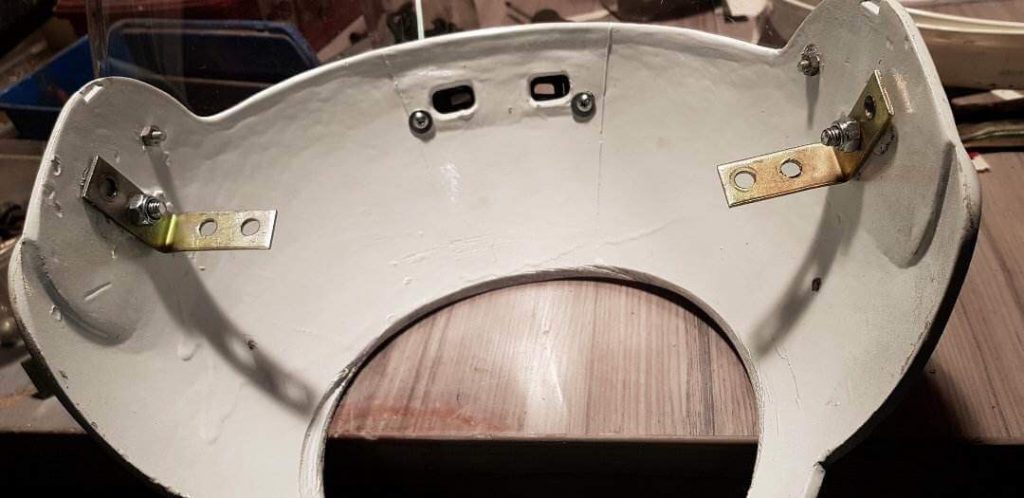
Finally I made a small mounting piece to the bottom of the headset, connected to the headlight bolt underneath to stop any vibration. Simple DIY ‘L’ brackets were used to fasten the fairing to the mounts and I used rubber tap washers on all joints to again limit any vibration.
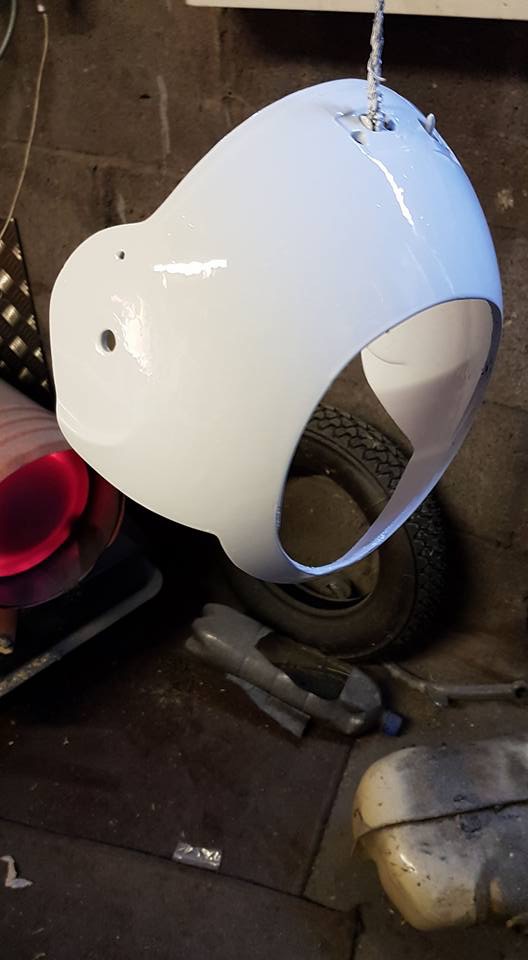
The design might work with an open face but I feel it would take a lot of the look away.
Alan.
The standard Vespa PX200 gearbox has a huge 3rd to 4th gearing jump, ending up with a final drive ratio just a tad over 4.6:1
The Vespa T5 4th gear makes for a nicer transition between the 3rd and 4th gears ending up with a final drive of 4.83:1
Well a 4.6:1 final drive ratio at 5000 RPM gives 55mph & 5000 RPM at 4.8:1 gives 52mph, that’s 3mph less at 5000 rpm but the smoother transition makes the scooter a hell of a lot more rideable into hills, headwinds, loaded up with luggage and a must for two up. If you want to tour or utilise an expansion chamber on your PX200 then a T5 4th gear is a must, otherwise you’ll simply drop out of the powerband and then be forced to run in 3rd. Admittedly two strokes like to rev but having to ride along in 3rd on your 11Bhp PX200 is simply preposterous.
Keep your standard P200 gearbox setup if you want to constantly put your engine under load or you only ever ride out locally, but if you want a motor to run well as it should then it needs to sit in that sweet spot. The SIP road 2.0 is a torquey pipe, but it isn’t a magic wand and if you want to ride all year to any destination then it’s a T5 4th
So many P200 owners are quoted to say “power drops off in 4th” or “wouldn’t pull 4th with my expansion chamber “.
4.6 is a final drive ratio that a tuned Lambretta TS1 can pull as it has the power to reach the power band. But as I mentioned previously 11/12 Bhp (even less in some) simply wont “properly” pull that type of gearing. To try to increase Bhp by fitting an expansion pipe doesn’t guarantee an increase in torque for use on the open road, as will be proven on any Dyno. TORQUE IS KING.
All stated IMHO and experience,

Sean’s Vespa work-stand
Sean originally designed and made this set up for paint spraying in a confined space such as in a small shed or garage. This work-stand has turned out to be a great asset when carrying out any rebuild or scooter restoration. Sean says that it’s great for frame prep welding, grinding, sanding, filling etc and is extremely portable, being mounted on three castors.
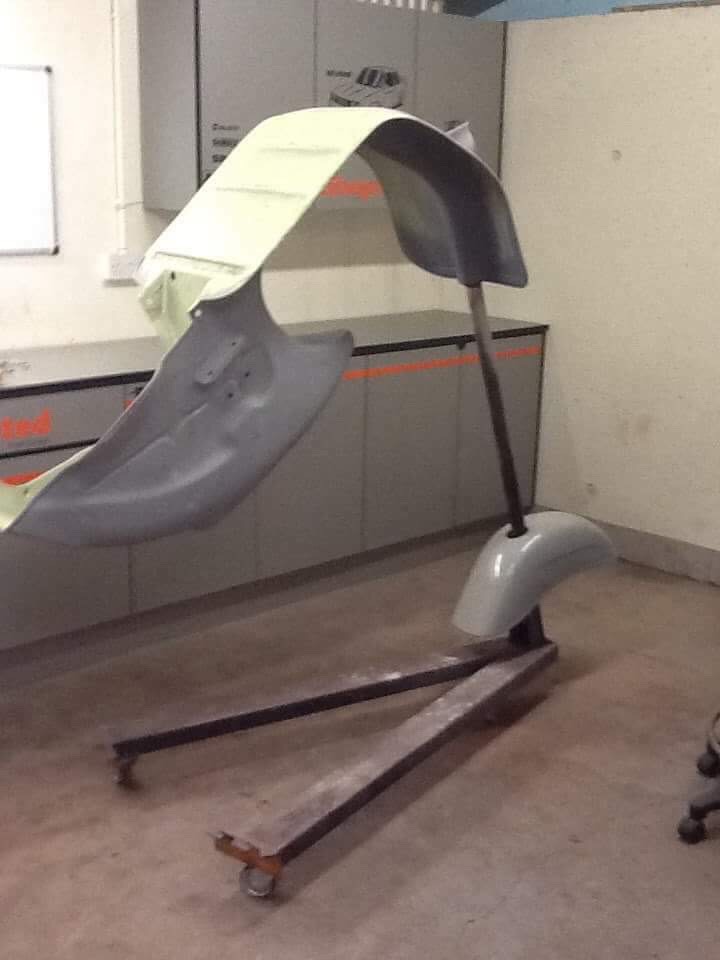

Sean has said that there is no reason why a similar work-stand could not be designed to suit the Lambretta frame.
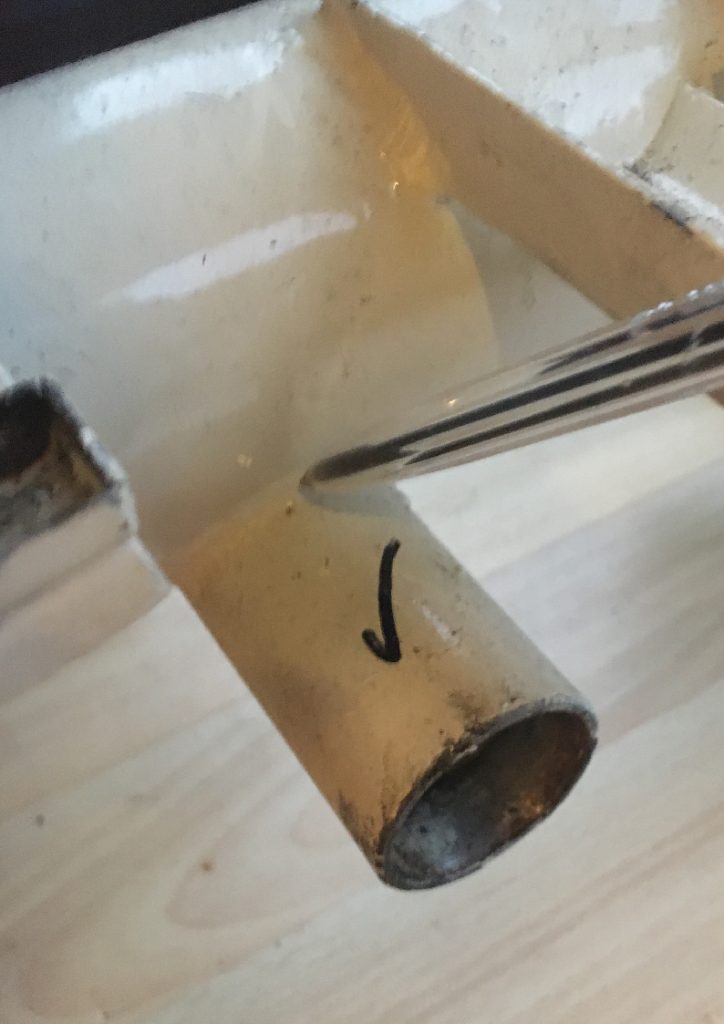
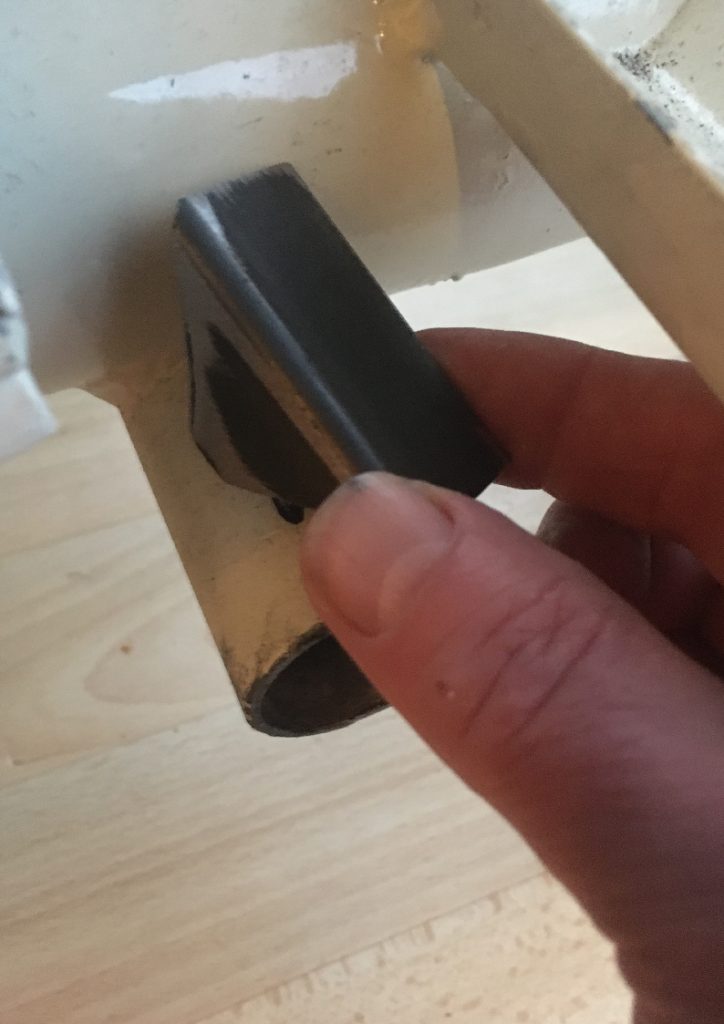
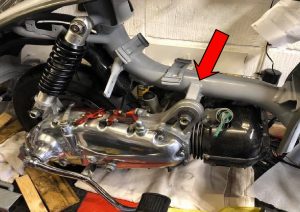
The Lambretta frame engine mount tube is prone to metal fatigue, where it is welded to the main center frame tube. Even a moderately tuned motor excerts a lot of strain around the engine mount area which can result in cracking and weld failure. The location of the battery tray on some models can add to the joint weakness if battery acid is allowed to spill onto the joint, resulting in sulfation and corrosion. Some Serveta models had their engine mounting tube reinforced with a triangulated gusset as standard during frame production. A similar aftermarket triangular shaped gusset is now available to reinforce this known weak spot. The reinforcing gusset is usually welded on during a frame renovation, but it can be fitted to a complete frame if the petrol tank is first removed. (which lies directly above the joint!) So if you’re in the process of a Lambretta restoration, then this modification is certainly highly recommended particularly if you’re going to be running a powerful motor. The Strengthening gusset is available from internet suppliers and Scoot66 carry this part as a stock item.


S1 Frame with the Targa Twin motor fitted.
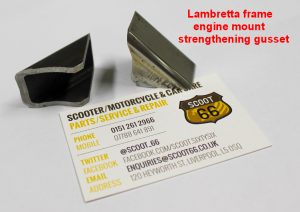
The Strengthening gusset is available from internet suppliers and Scoot66 carry this part as a stock item.
This frame modification was professionally welded by Peter Cogley (Widnes SC) The Series 1 frame belongs to Gary Winch (LSC)
This wheel rim came into scoot66 for a tyre replacement after a 6mm diameter x 150mm steel rod actually penetrated the tread and sidewall. The tyre was found to be still inflated with at least 15PSI of air pressure!
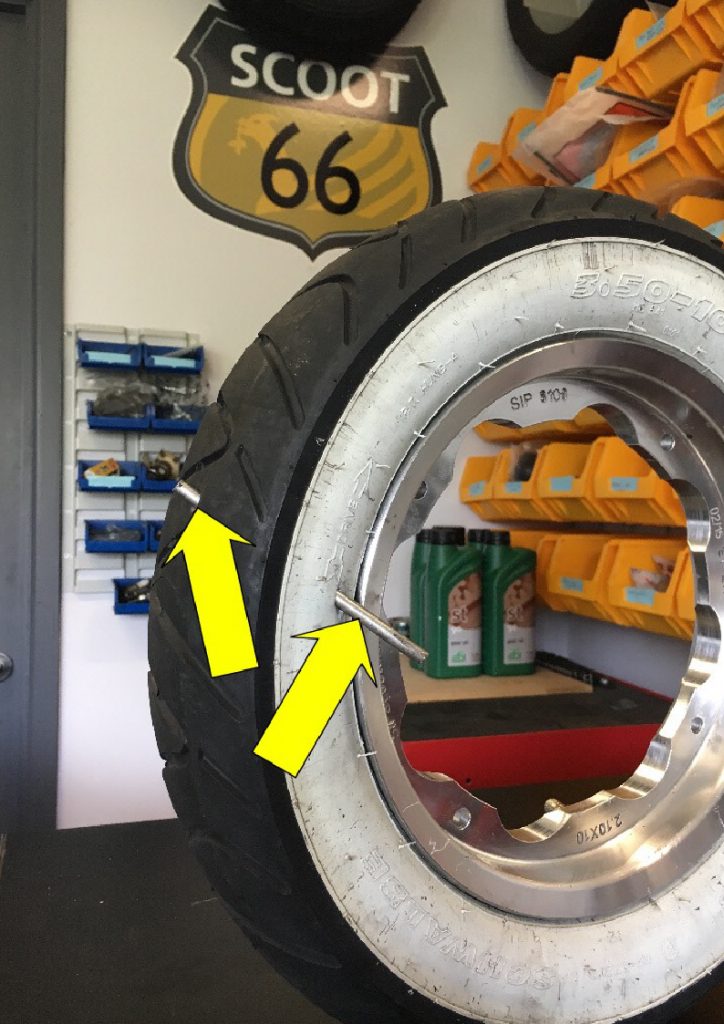
This tyre was still inflated to 15psi even after being penetrated with a steel rod!
This surely has to be a very good advertisement for the use of modern tubeless rims! Many people now say that if they were available in the past, then Innocenti and Piaggio would certainly have used them!
The modern tubeless rim is now a must have safety item for any classic scooter!
Mike Murray recently replaced his ageing Rapido 225 barrel with a brand new TS1 kit. The cylinder barrel was first sent off to our old friend Ben Kemp at AF Rayspeed for some further modifications!
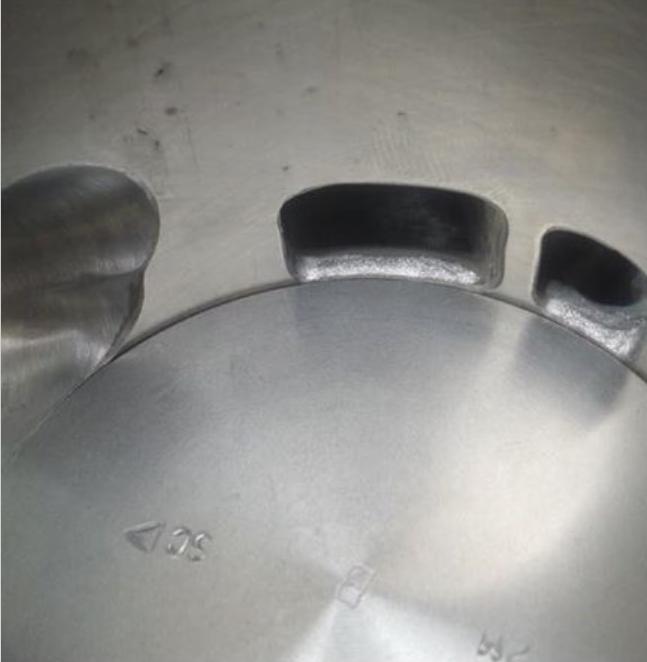
Casing transfers polished to match the TSI barrel. The Mag housing has also been modified for improved cooling.
Scoot66 have their own tyre changing machine, that is dedicated to the removal & replacement of tubeless tyres fitted to modern tubeless wheel rims.
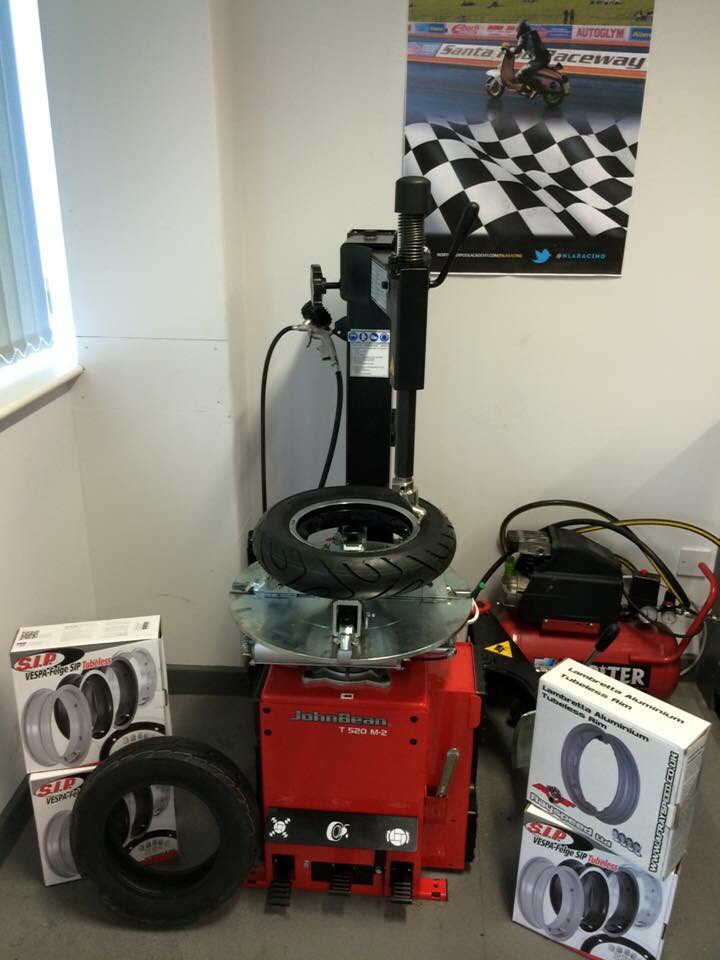
The Scoot66 dedicated 10″ wheel rim – tyre changer.
Scoot66 offers free tyre fitting to scooter wheel rims (tubeless or tubed) for all tyres purchased from their shop! Scoot66 can also supply Lambretta (AF rims) – Vespa/Lambretta (SIP rims) and all leading brands of scooter tyre.
See the Scoot66 tyre changer in action on the YouTube link at the bottom of every page or visit – https://youtu.be/egRQITbvhfU
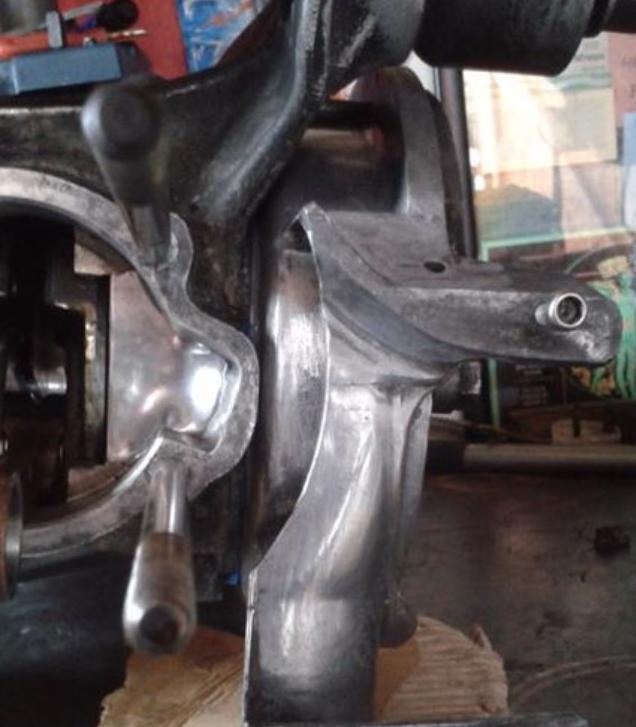
The bearing in the anti-dive bracket is 68012rs, this bearing takes a lot of stress every time brake is applied or suspension is active. Its only a very thin section bearing and can wear quickly and can contribute to uneven pad wear as mine did. Upgrade with 68012RSMAX bearing which has open race system using extra ball bearings and is designed for pivoting suspension applications. (simplybearings.co.uk) Its worth checking the condition of your anti-dive bracket bearing if you do a lot of miles in all weathers. I imagine original bearing was sourced based on cost rather than durability. – Mike Murray.
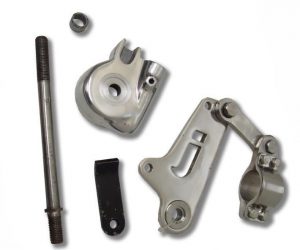
ScootRS Anti-dive kit
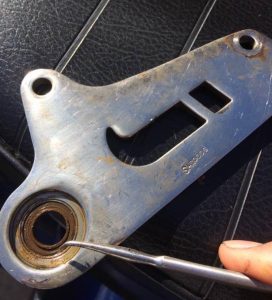
Anti-dive bracket, showing the offending light duty bearing.

A worn bearing can allow sideways movement of the brake disc and uneven brake pad wear.